Barotrauma
Barotrauma is a survival-horror video game developed and published by “Fakefish” and “Undertow Games”. It is set in a distant, frozen future where humanity lives and works on submarines deep below the ocean’s surface.
Basic server configuration
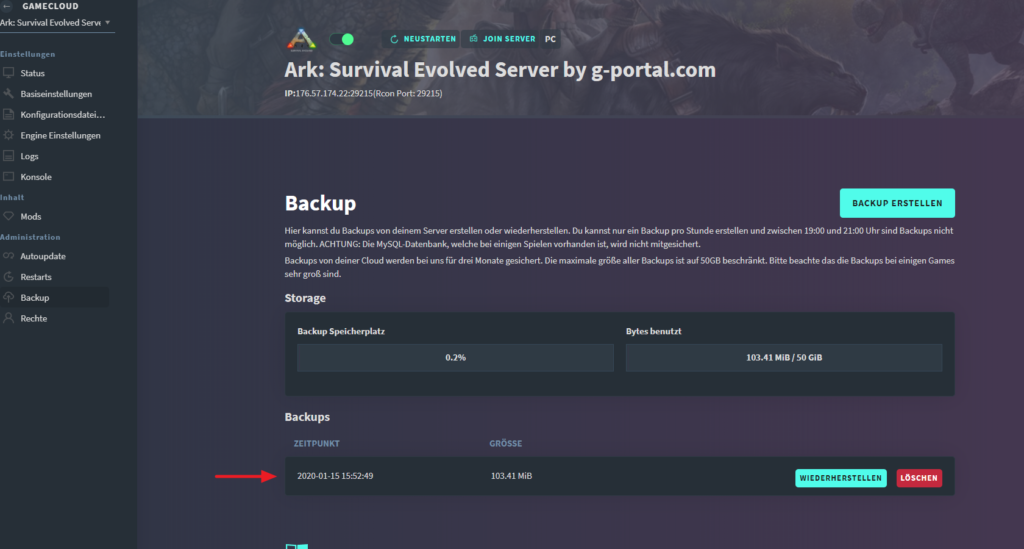
Create backup
You can create backups for your GPORTAL server if you want to. You receive free storage space for saving your game play.
Note Please note that backups are not created automatically.
How to create a backup via the web interface:
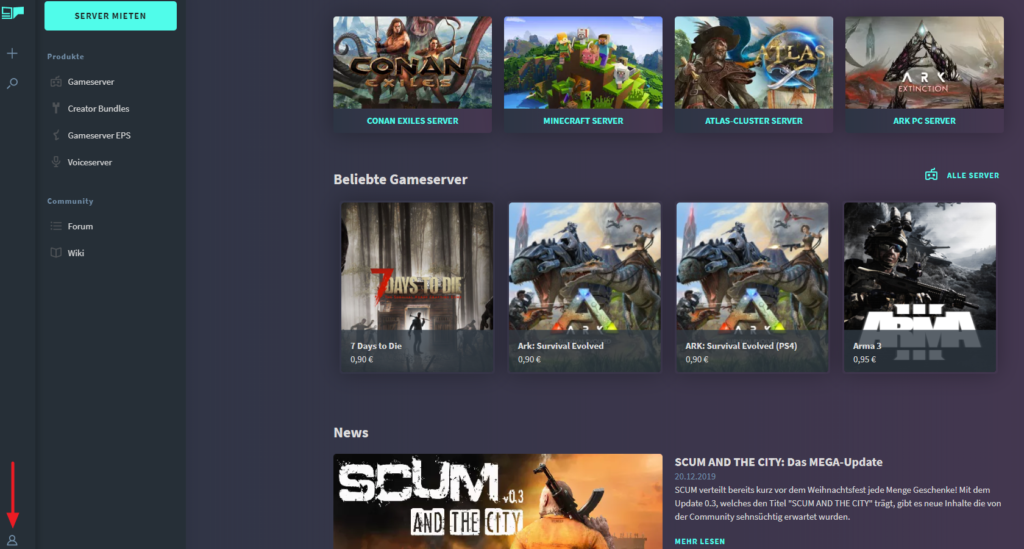
- Log on to our website
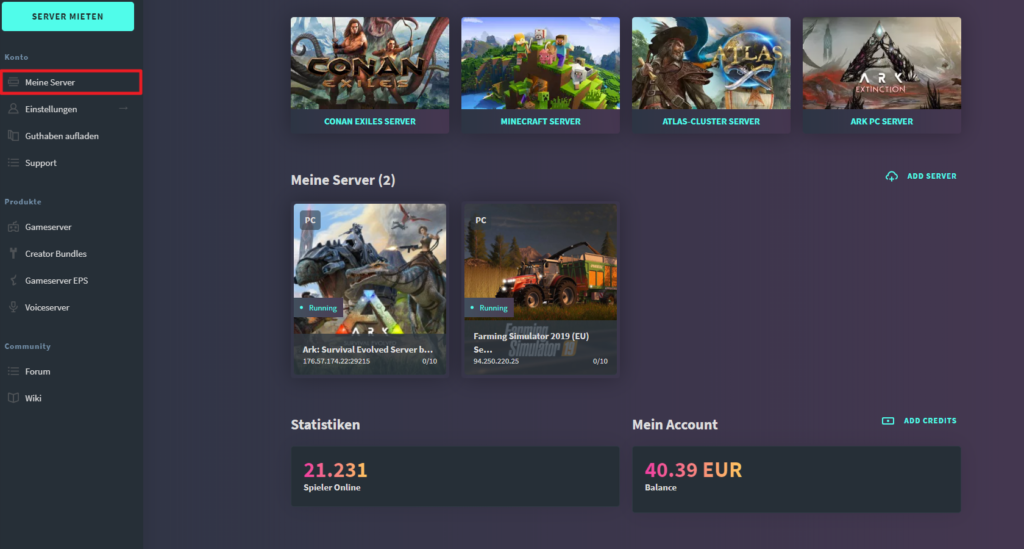
- Click on “My Servers” in the menu on the left
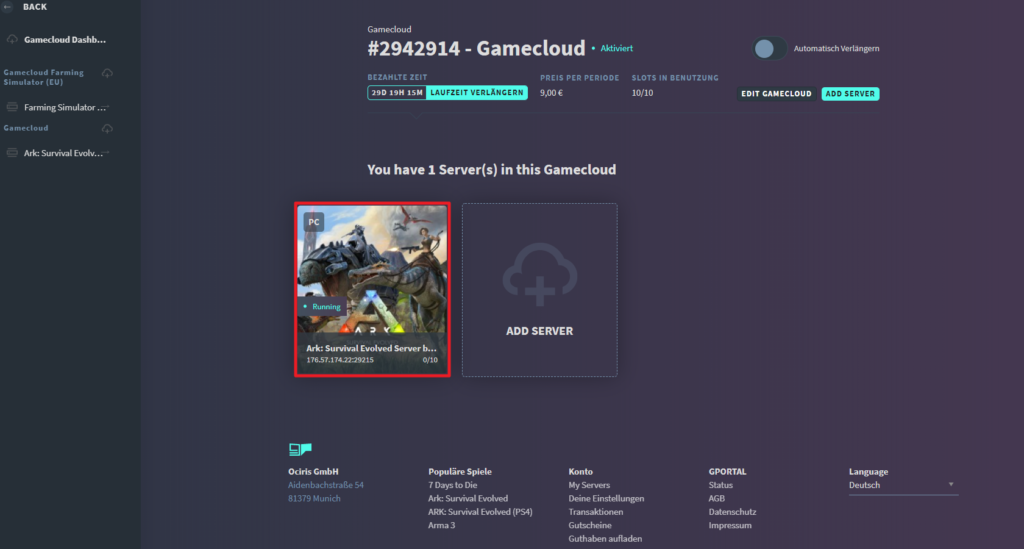
- Select the desired server
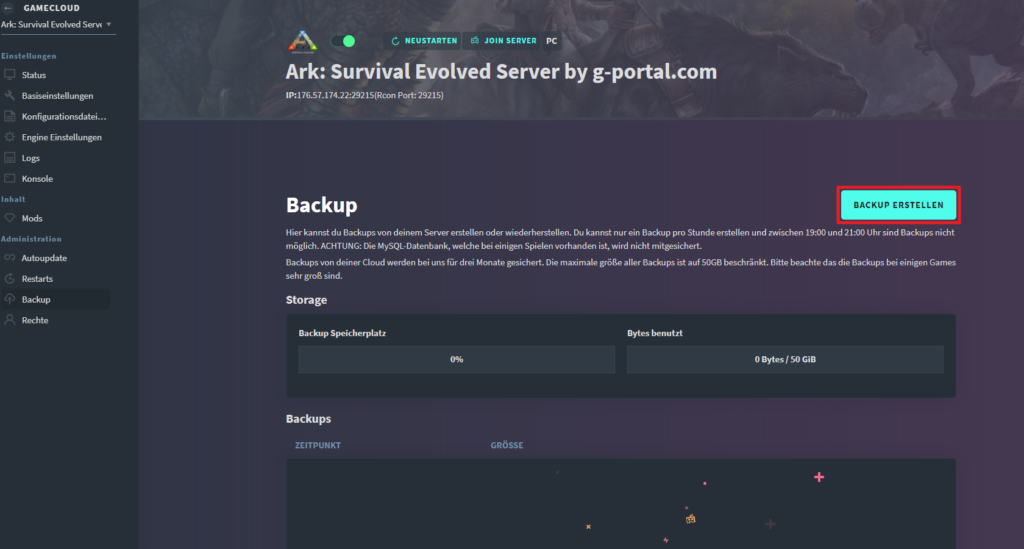
- Click on “Backup” in the “Administration” menu on the left
- Click on “Create Backup“
- The server stops for the backup
- After creating the backup, the server restarts automatically

Log in to our website Click on “My Server” in the menu on the left Select the desired server Click on “Backup” in the “Administration” menu on the left Click on “Create Backup” You see the backup in the list below

Advanced Settings
How do I become an admin on my Barotrauma server?
As an admin, you have special authorizations and can perform various actions on your server via ingame commands. Proceed as follows to become an admin:
- First stop your server
- Then go to “My servers” and select your Barotrauma server
- Now click on “Configuration files” in the left margin
- Now search for the following file in the “Select configuration file” dropdown:
clientpermissions.xml

- You must now create a new entry for yourself in the code window below (we will show you how this should look below):
<Client
    name="<Spielername>"
    steamid="<steamid>"
    permissions="<permissions>">
    <command
      name="<commandname>" />
</Client>- You must now adjust the following 4 entries in the code:
Name
SteamID (Important: The Steam64ID is meant here)
Permissions
Command - You can use the page steamid.io, for example, to get your own Steam64ID
- Now you have to assign yourself appropriate permissions, which you can use
- In the following example, we have added the option for the admin to use the console commands
(Note: You use the “command” line to assign specific admin commands)
<ClientPermissions>
<Client
    name="Name"
    steamid="123456789"
    permissions= "ConsoleCommands">
    <command
      name="spawn" />
  </Client>
</ClientPermissions>
What permissions are there?
In this small chart we give you an overview of possible permissions that you can give yourself.
| Permission | Description |
| ManageRound | Rounds can be started/ended |
| Ban | Players can be (permanently) banned |
| Unban | Players can be unbanned |
| Kick | Players can be (temporarily) kicked |
| SelectSub | Submarine can be selected |
| SelectMode | Game mode can be selected |
| ConsoleCommands | Access to Console Commands is granted (Important: Console Commands must ADDITIONALLY be added in the code) |
| ServerLog | Server logs can be viewed |
| ManageCampaign | Mission, destination and supplies can be selected |
| ManageSettings | Server settings can be changed |
| ManagePermissions | Permissions of other players can be changed |
| KarmaImmunity | Grants immunity to the negative effects of the karma system (without losing karma) |
| All | Grants all of the above authorizations |
Installing mods
As in other games, it is also possible to install mods in Barotrauma. To make this work, you just have to follow a few steps and then you can get started. We’ll show you how to do it.
- Open Steam on your PC and go to the Steam Workshop
- Subscribe to the mods you want to use
- Now open Filezilla and establish a FTP connection to your server
- Navigate to the following path:
steamapps\workshop\content\602960 - Here you see a number of mod folders with their ID as name
-> Rename these folders from the ID to their actual name
-> You can find the ID in the URL of the Steam Workshop and the name of the mod in the filelist.xml in the respective mod folder - Now load all mod folders (that you just renamed) into the LocalMods folder on your server
- In the game folder look for the configuration files and the file Config_player.xml
-> Open the file - Search in the file for the following lines:
<contentpackages>
<!--Backwards compatibility-->
<core
name="Vanilla 0.9" />
<!--Vanilla-->
<corepackage
path="Content/ContentPackages/Vanilla.xml" />
<regularpackages>
<package>
</regularpackages>
</contentpackages>- Add your mods now here within this area
-> Below is an example for illustration purposes:
<contentpackages>
<!--Backwards compatibility-->
<core
name="Vanilla 0.9" />
<!--Vanilla-->
<corepackage
path="Content/ContentPackages/Vanilla.xml" />
<regularpackages>
<!--Backpacks-->
<package
path="LocalMods/Backpacks/filelist.xml" enabled="true"/>
</regularpackages>
</contentpackages><contentpackages>- Save your changes
- Restart your server
After you start the game, the mods should be available on your server. Have fun!