7 Days To Die
Rent a 7 Days To Die Server
Rent a 7 Days To Die Server
Genre:
Survival
Studio:
The Fun Pimps
Publisher:
The Fun Pimps
How do I activate the live map in 7 Days To Die?
The external live map can be extremely useful. We will explain how you can display the map.
Follow these steps:
- Stop your server before making any further changes
- Click on “Basic Settings” on the left-hand side
- Look for the “Enable Telnet” switch in the options (the switch should be green)

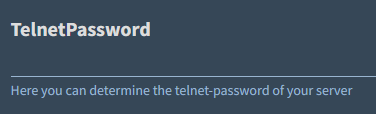
- Now add an entry under “Telnet Password”
- Now also activate “Enable Map Rendering” so that the switch is green

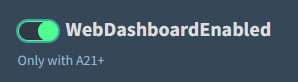
- Also activate “Web Dashboard Enabled” (green switch)
- Now click on “Save” at the bottom of the screen
Now that you have made all these changes, start your game.
- During the startup process, you should see the following lines:
- INF [Steamworks.NET] GameServer.init successful
- INF [Steamworks.NET] making server public
- Click on “Web Console” in the game panel
- Where it says “RCon Password,” enter the password that you previously assigned under “Telnet Password” in our web interface
- Confirm with ENTER
- Now type rendermap in the command window
The server will now begin rendering the live map. This may take a little time, especially if you are using a large map. So please be patient.
Once the process is complete, you can view the live map by clicking on “View Live Map.”
And that’s it. Have fun playing.
similar articles

7 Days To Die
What are the admin commands on 7 Days To Die?

7 Days To Die
How do I activate Twitch Drops for 7 Days To Die?

7 Days To Die