7 Days To Die
Rent a 7 Days To Die Server
Rent a 7 Days To Die Server
Genre:
Survival
Studio:
The Fun Pimps
Publisher:
The Fun Pimps
How do I activate the live map in 7 Days To Die?
The external live map can be extremely useful. We will explain how you can display the map.
Follow these steps:
- Stop your server before making any further changes
- Click on “Basic Settings” on the left-hand side
- Look for the “Enable Telnet” switch in the options (the switch should be green)

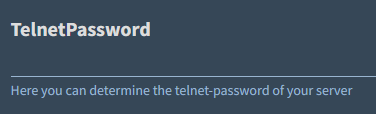
- Now add an entry under “Telnet Password”
- Now also activate “Enable Map Rendering” so that the switch is green

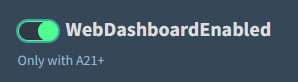
- Also activate “Web Dashboard Enabled” (green switch)
- Now click on “Save” at the bottom of the screen
Now that you have made all these changes, start your game.
- During the startup process, you should see the following lines:
- INF [Steamworks.NET] GameServer.init successful
- INF [Steamworks.NET] making server public
- Click on “Web Console” in the game panel
- Where it says “RCon Password,” enter the password that you previously assigned under “Telnet Password” in our web interface
- Confirm with ENTER
- Now type rendermap in the command window
The server will now begin rendering the live map. This may take a little time, especially if you are using a large map. So please be patient.
Once the process is complete, you can view the live map by clicking on “View Live Map.”
And that’s it. Have fun playing.


